
My Map of the World is finished! Here is a recap of how it developed through different stages.
Stage 1: Applying the base color.
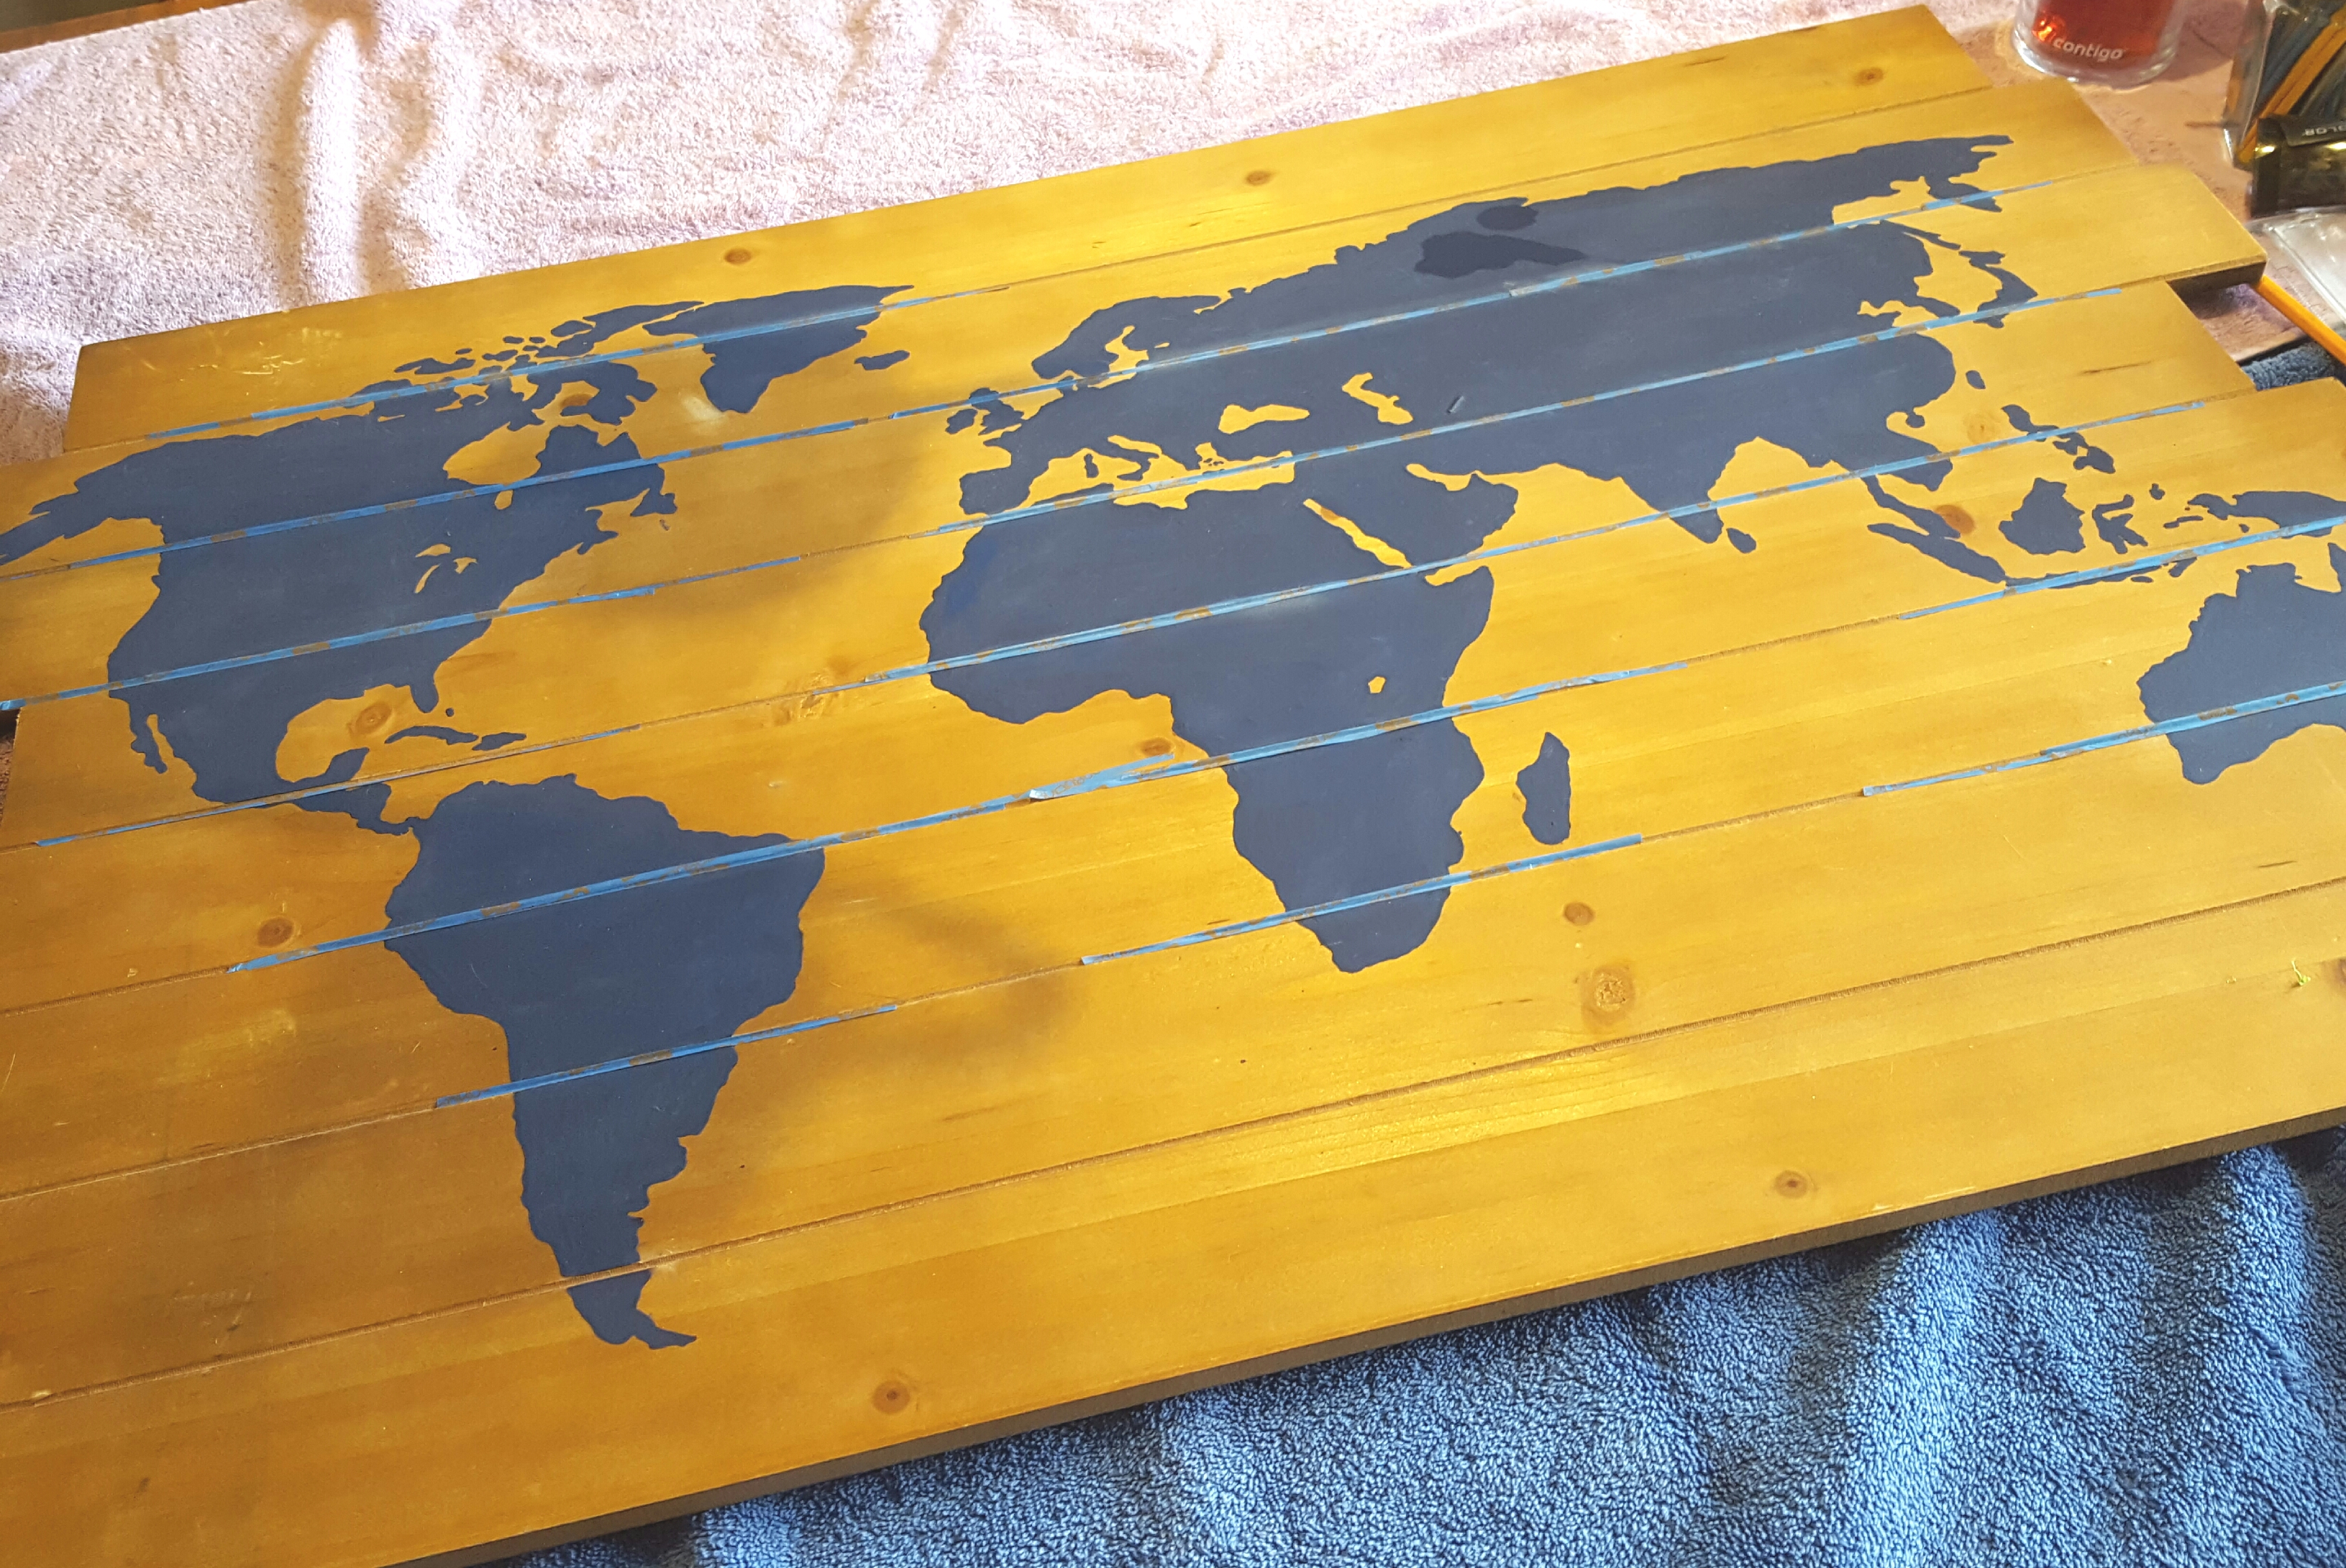
Stage 2: Creating the coastlines.


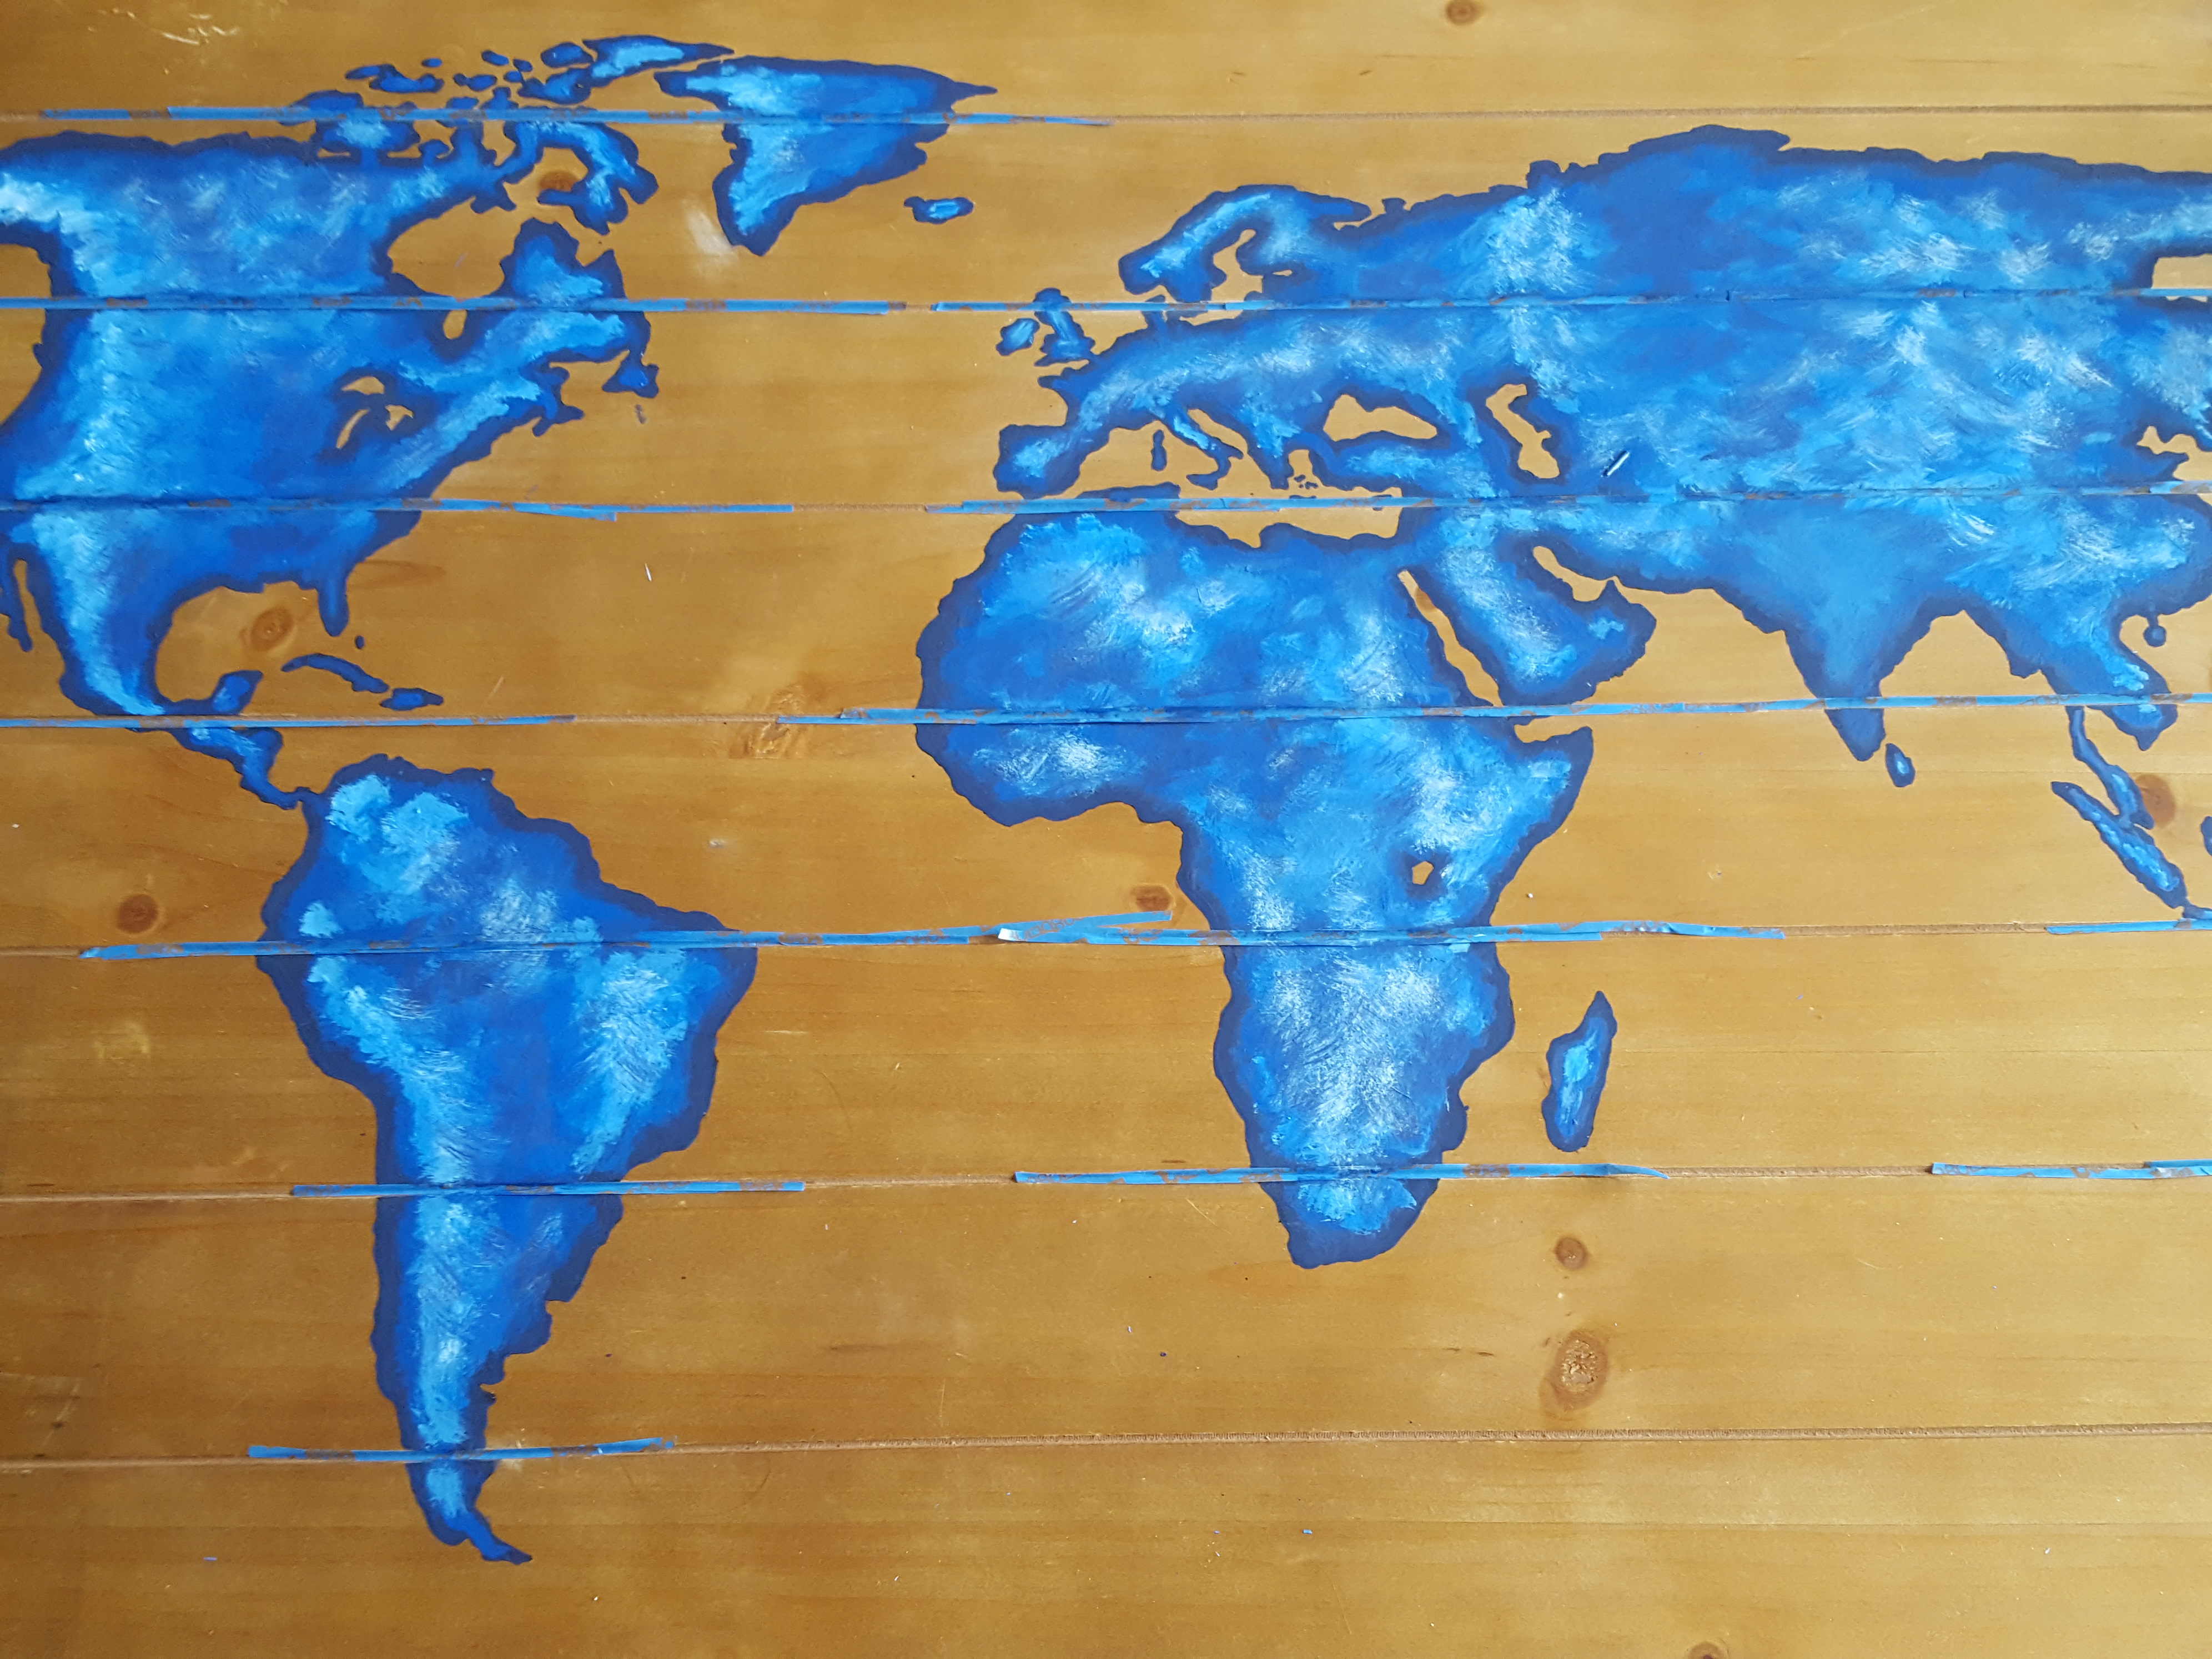
Stage 3: Highlighting the elevations.
Stage 4: Starting over!
(A typical step in my creative process…)
I painted over Stage 3 entirely! I just wasn’t happy with it… it needed more contrast. So I decided the best way to do that was to add more dark shades to the bottom layers.
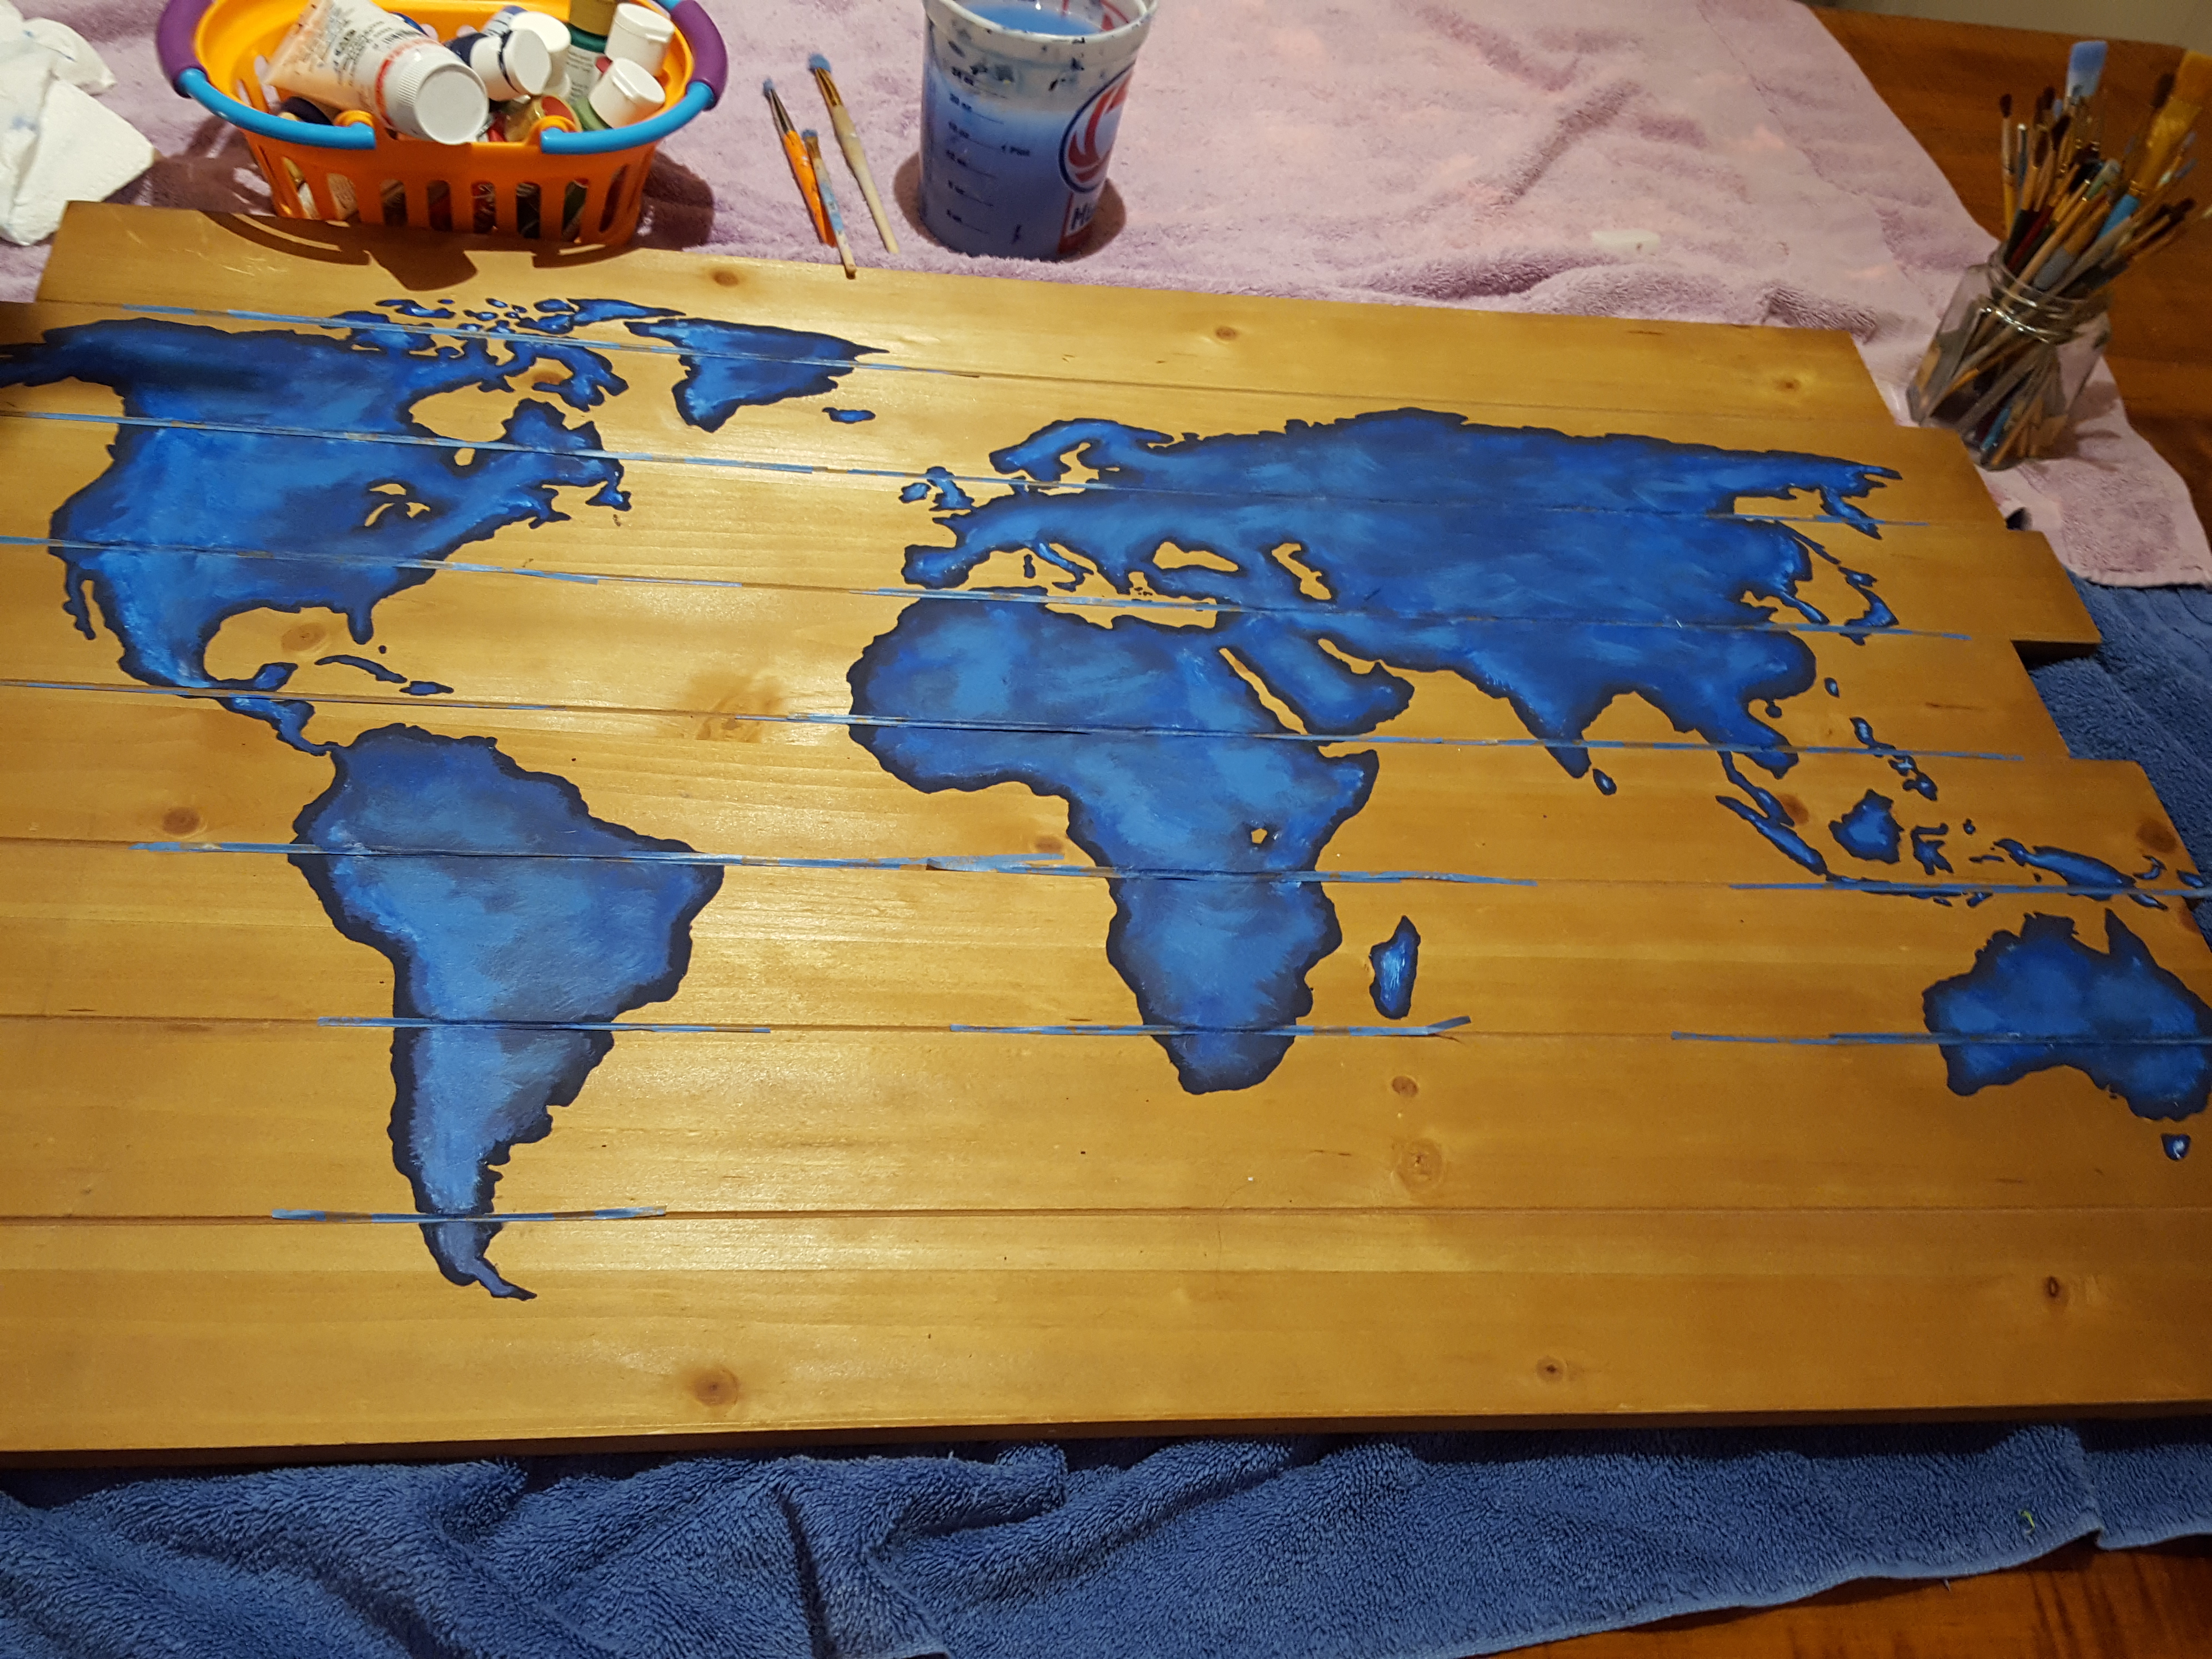
Stage 5: Detailing…


From here, it underwent several more stages of shading and detailing until I was happy with it…
Stage 124 (or so it seemed!): Finishing. Three coats of polyurethane and my project is sealed and sheened. Now all that’s left to do is peel back the detailing tape (I took great pleasure in doing this)…


Final Finished Project: Ta-Daaa!
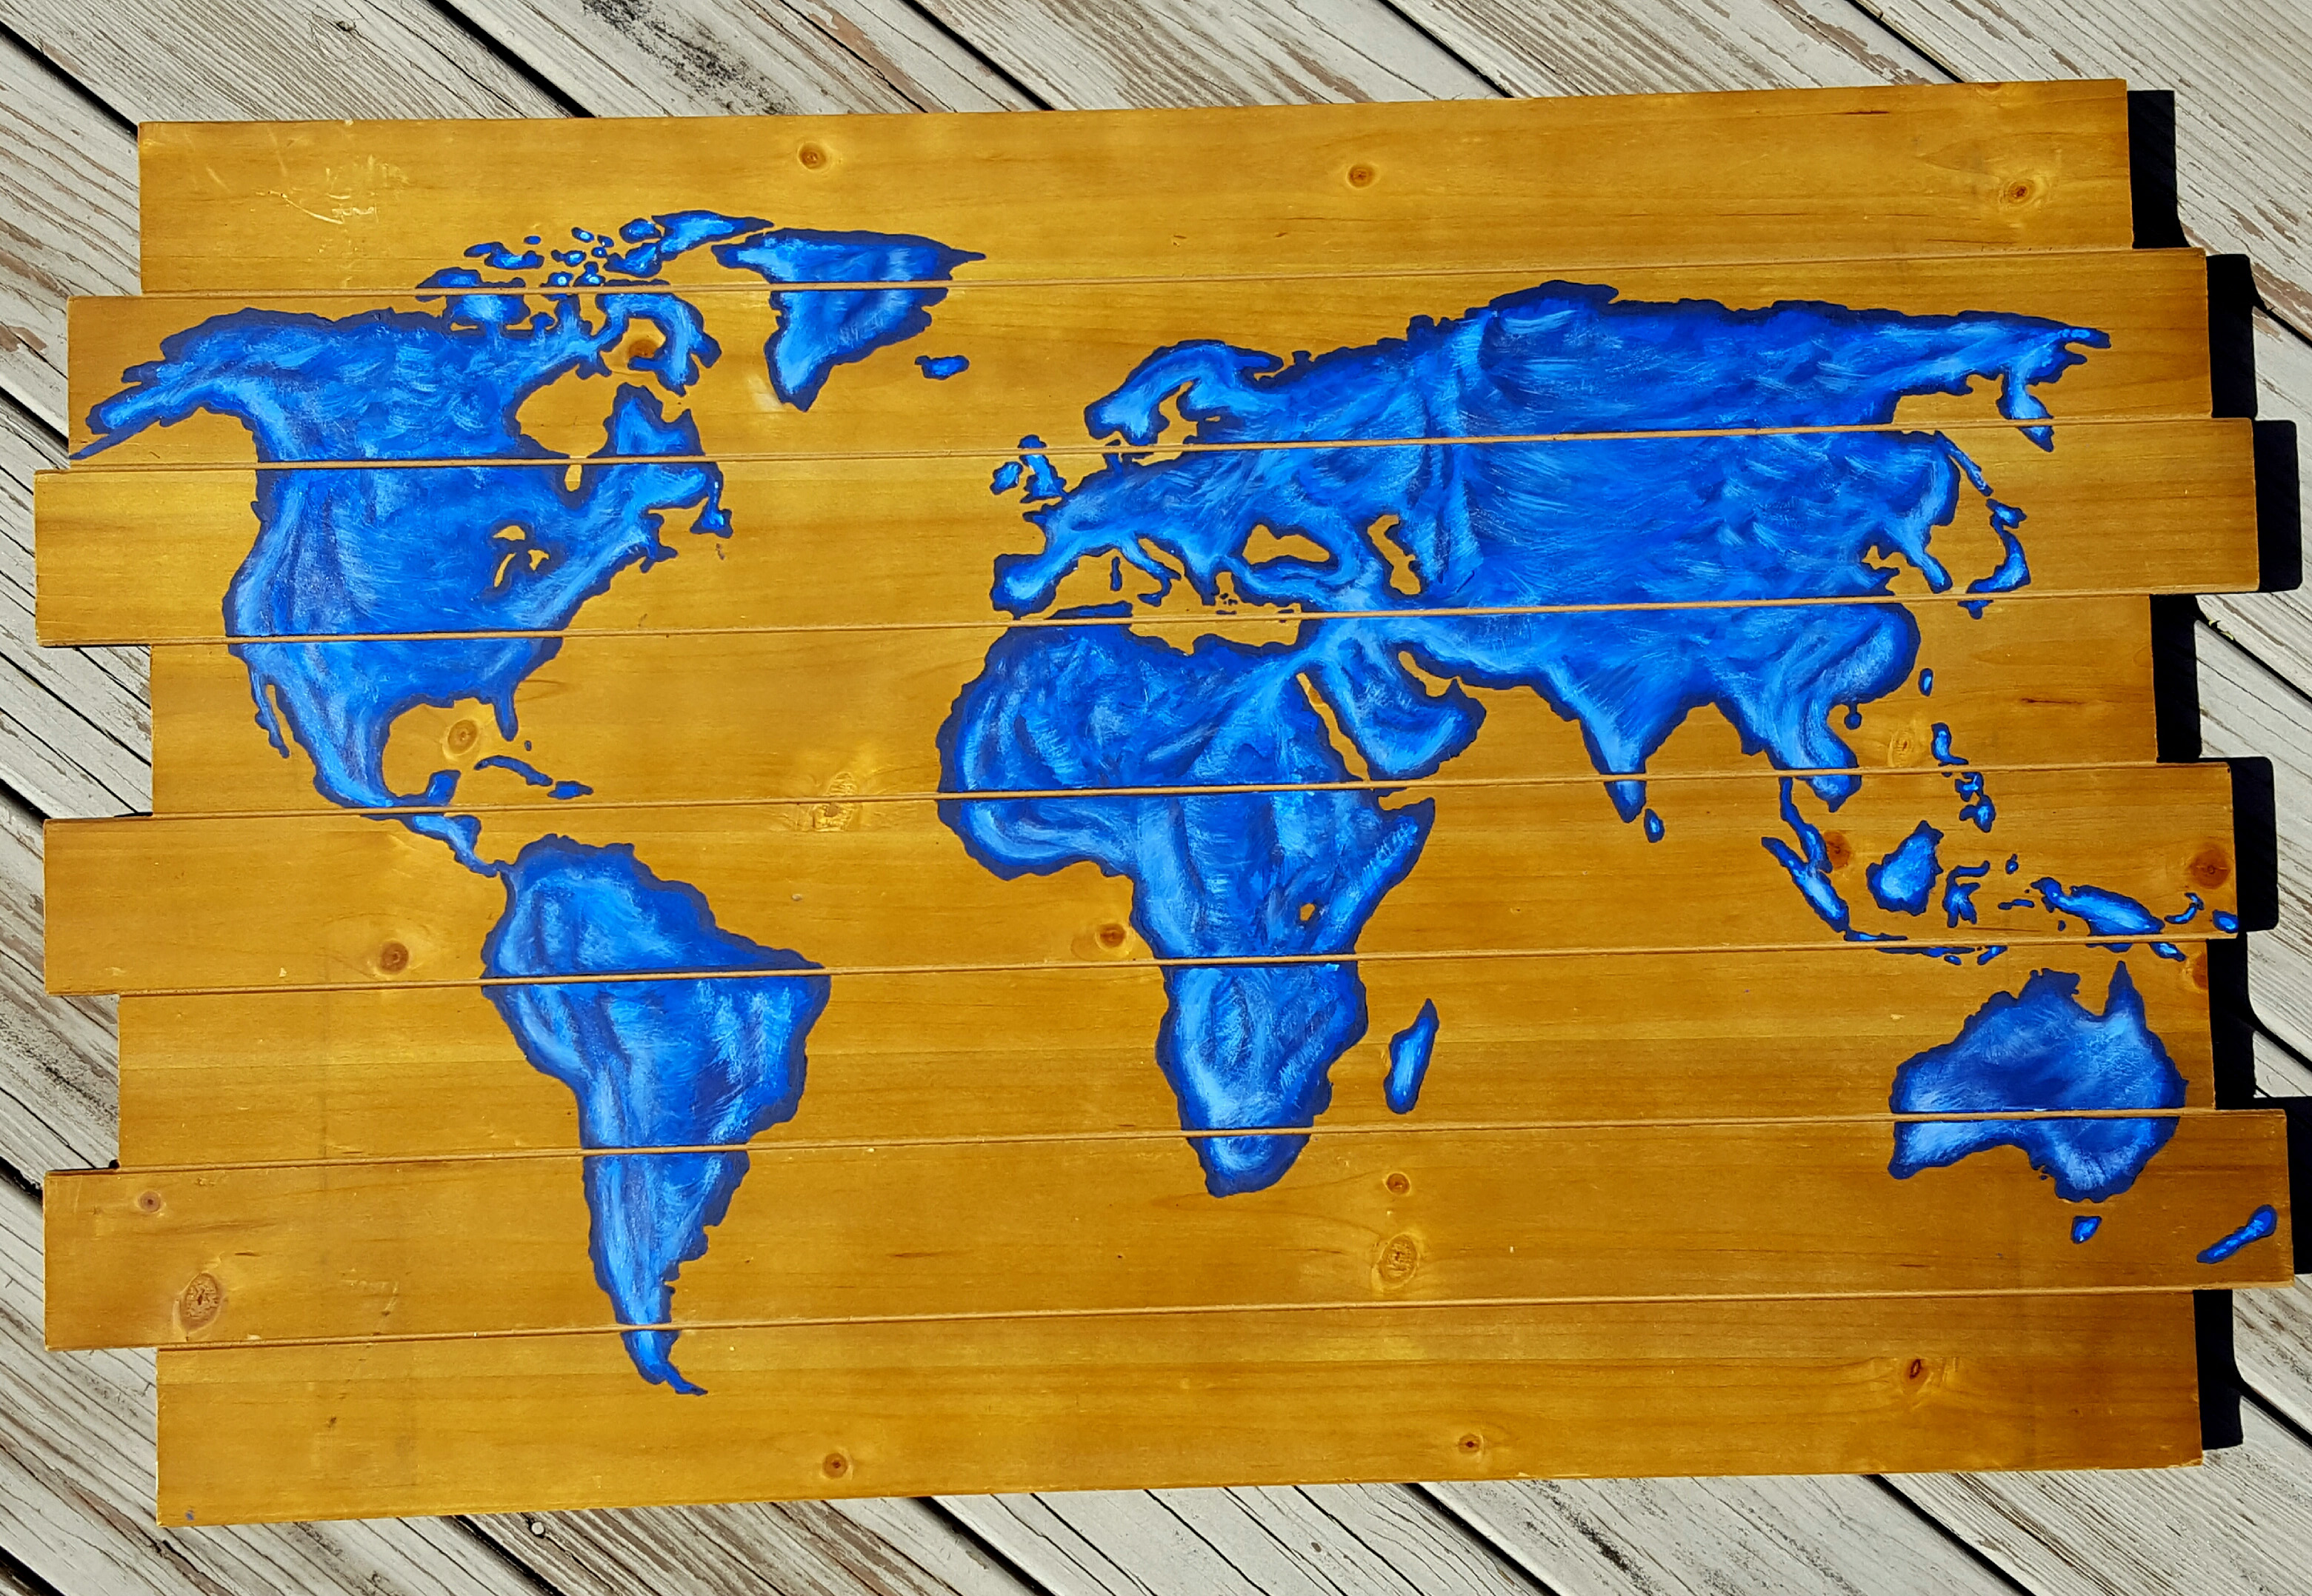
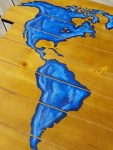

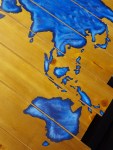
And it’s done! The Map of the World will be an integral piece to our “Things That Go/Places You’ll Go” theme for AJ’s Big Boy Room. 🙂
